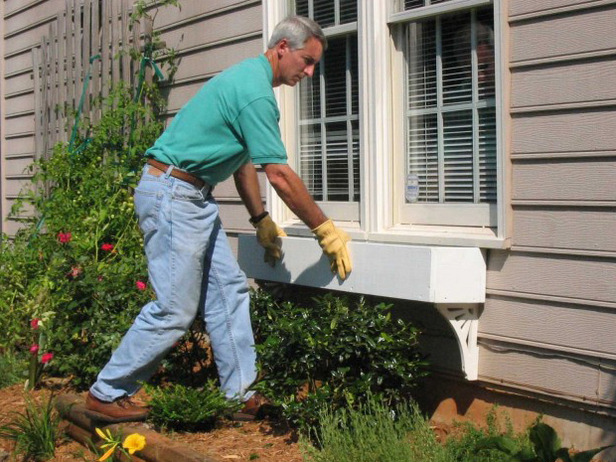
Build it Yourself DIY Window Boxes
A great do it yourself project that could add value to your home as well as give it some unique charm is adding window boxes to the outside of your home. First you will need to decide on what type of wood you would like to utilize. A good choice would be pre-treated Cedar planks as this type of wood can withstand the drastic environmental changes outside. Cedar planks also give your house a natural rustic look.
To begin this project, you will need to measure the length of the window you will plan on building the box under. This will determine the amount of wood needed as well as determined length needed to complete this project. Below you will find the dimensions and amount of wood needed:
- (2) ¾ inch cedar planks measuring 8 inches x the length of the window
- (2) ¾ inch cedar planks measuring 11 inches x 8 inches (this is for the sides)
- (1) ¾ inch cedar plank measuring 11 inches x the length of the window (bottom)
- (1) Pre-treated 2 x 4 cut to the length of the window.
Now you are ready to assemble your box.
First take the two 8 inch x window length planks and the two 11 x 8 inch sides and assemble them together portray a box using wood glue and clamps along with 1 ¼ inch exterior wood screws (ensure you secure them together well). Next take the 11 inch x window length plank and secure it to the bottom once again using wood glue and exterior wood screws. Ensure the wood glue is fully dried and all exterior screws holding your box together are tight – this will help increase durability.
Once window box is fully assembled and dried it is now time to mount your window box under the desired window. This can be difficult depending on how you mount it as the window box can become quite heavy depending on what you may plan on putting inside. I have found the best way to accomplish this is by using a cleat. In order to use a cleat, first determine where the bottom of your window box will sit outside of your window. This will help to keep it steady and secured to your home. Take the pre-treated 2 x 4 that is cut to the length of your window and mount it to the wall where the bottom of your window box will be by using ¾ inch concrete screws. Ensure that your cleat is leveled and in the desired position before mounting it.
Once your cleat is mounted set the window box directly on top of ensuring it is flush with the wall. Secure the window box to the cleat using exterior wood screws, screw from the inside of the window box into the cleat. (You may have to use a number of screws to be sure that the window box is securely mounted to the cleat).
Your window box now can be decorated and filled. If you are planning on using soil inside your window box, it is a good idea to use plastic planters or line the window box with plastic as this will help with durability as it will be exposed to soil and moisture which can damage the wood. Your window box can be filled with anything you desire; from plastic plants to pinecones or even sand and sea shells. You can customize your window box any way you choose. You are only limited to your imagination so enjoy!

